I like spending a long time working on one project. I like how things evolve over time. Sometimes if I love a particular idea, I'll make variations of it.

It started with earrings similar to these about 6 years ago. I traded one of my glass beads for 2 pairs of rough pom- pom earrings. They eventually fell apart and I made these with sterling silver to replace them. I added glass bees that were made by Kim Fields to make them feel more floral.

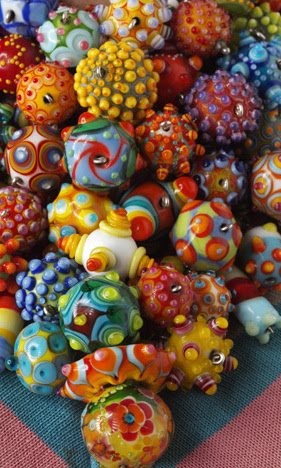
Next I made this pair. The large pom- pom at the top of each earring is made mostly of wool, and the rest of the pom- poms are made of unraveled Japanese bunka cord. I made all of the pom- poms by hand, and I flameworked all of the glass bees, as well as the beads at the bottom of each earring. Click on these, there are a lot of details in them.
Somewhere over the years I lost track of these, my favorites by far. A perfect example of why you should document what you make! Mom, have you seen these in the house in New York?

I wanted replacements, so I decided to make these while in LA last year. I didn't know where to find really fine fibers out there (like bunka cord), so I used some wool yarn from a craft store. I only made two pairs like these, and Faythe Levine has the other set.

This year I started making another pair while in San Francisco. These are still unfinished. The pom- poms are all bunka cord, but there's hardly any size gradient or variation in color. Also, there aren't any glass components yet. I'll post another image after they're more dynamic!
Whoa, I just did a little research and it seems that most tutorials on the innernerd show how to make pom- poms ONE AT A TIME. When most people I know make pom- poms, they make a bunch of them. Why make them one at a time when you can work more efficiently:
For small to medium sized pom- poms, drive 2 nails into a board until they feel stuck and won't give much under sideways pressure.

For more or bigger pom- poms use a bigger board and bigger nails. Also, you can make pom- poms across a room by winding around a doorknob and the back of a chair, or a hook on a wall.

Wind your fiber around the two nails. The fiber should not be so tight as to draw the nails in towards each other. Continue until the yarn is sufficiently thick, considering the diameter of the pom- poms you're trying to build.

Using a strong thread (linen works well,) tightly tie belts at intervals close to the desired diameter of your pom- poms.

Cut on the midpoint between each belt, and trim around the cut yarn to make spherical pom- poms!

As with most applications, thicker yarns build up faster. These were made with really bulky yarn, like 1970s hair ribbons.

It started with earrings similar to these about 6 years ago. I traded one of my glass beads for 2 pairs of rough pom- pom earrings. They eventually fell apart and I made these with sterling silver to replace them. I added glass bees that were made by Kim Fields to make them feel more floral.

Next I made this pair. The large pom- pom at the top of each earring is made mostly of wool, and the rest of the pom- poms are made of unraveled Japanese bunka cord. I made all of the pom- poms by hand, and I flameworked all of the glass bees, as well as the beads at the bottom of each earring. Click on these, there are a lot of details in them.
Somewhere over the years I lost track of these, my favorites by far. A perfect example of why you should document what you make! Mom, have you seen these in the house in New York?

I wanted replacements, so I decided to make these while in LA last year. I didn't know where to find really fine fibers out there (like bunka cord), so I used some wool yarn from a craft store. I only made two pairs like these, and Faythe Levine has the other set.

This year I started making another pair while in San Francisco. These are still unfinished. The pom- poms are all bunka cord, but there's hardly any size gradient or variation in color. Also, there aren't any glass components yet. I'll post another image after they're more dynamic!
Whoa, I just did a little research and it seems that most tutorials on the innernerd show how to make pom- poms ONE AT A TIME. When most people I know make pom- poms, they make a bunch of them. Why make them one at a time when you can work more efficiently:
For small to medium sized pom- poms, drive 2 nails into a board until they feel stuck and won't give much under sideways pressure.

For more or bigger pom- poms use a bigger board and bigger nails. Also, you can make pom- poms across a room by winding around a doorknob and the back of a chair, or a hook on a wall.

Wind your fiber around the two nails. The fiber should not be so tight as to draw the nails in towards each other. Continue until the yarn is sufficiently thick, considering the diameter of the pom- poms you're trying to build.

Using a strong thread (linen works well,) tightly tie belts at intervals close to the desired diameter of your pom- poms.

Cut on the midpoint between each belt, and trim around the cut yarn to make spherical pom- poms!

As with most applications, thicker yarns build up faster. These were made with really bulky yarn, like 1970s hair ribbons.


You enchant me. Thanks for sharing. Wish I would have scanned in the rich pages of the travel journal I carried through South America with me. Now I'll never see it again, because I misplaced it. I will soon begin scanning in all my journal material for collage blogging. I'm hoping, wishing, and meditating on your body feeling better as today progresses.
ReplyDelete